Curing your Potjie
Using your potjie for the first time…

Curing a Cast Iron Pot – the Easy way!
If you’ve ever needed to cure a raw cast iron pot before, you will know that there is an awful lot of conflicting information out there as to how to do it.
Boiling vegetable peelings or vinegar in water, lighting a fire inside the pot, scrubbing it with wood-ash etc or just washing and using it will, in all likelihood, result in a pot which readily rusts and imparts a metallic taste to your food. Don’t believe what you are told – unless pots are enamelled on the inside, they are rarely ready for use. Best Duty pots are supplied “factory cured”. This simply means they are coated in oil to prevent rusting between manufacture and use.
This process is probably the best (easiest) but there are many other methods used.
- Remove all but one rack from your oven and heat to its hottest temperature
- Wash your pot and lid thoroughly inside and out with a plastic scourer and washing up liquid or soap. All being well, this is the last time your pot will require such treatment.
- Dry the pot and lid completely
- Using kitchen towel or a cloth, rub a good layer of vegetable oil all over the pot and lid, inside and out, avoiding the handle. Oil should not be dripping off the pot.
- Put the pot upside down in your oven, propping the lid against the side of the oven and the pot. If your oven is big enough (or your pot small enough) you can put this on a separate shelf.
- Bake the pot and lid for 1 hour
- Carefully remove the pot and lid from the oven and allow to cool. If you prefer you can turn the oven off and allow the pot to cool inside. This is obviously a safer method of handling a hot pot!
- Coat the pot with a second layer of oil and put back into the hot oven for a further hour (if you turned the oven off in the previous step, remove the pot, recoat and reheat the oven before rebaking the pot).
- Turn the oven off and allow to cool.
- Your pot is now ready to use and should give you many years of trouble-free service if the aftercare instructions are followed.
Aftercare
Don’t use soap to wash it out after using – hot water is sufficient. Soap will destroy the patina which you created in the steps above and also the gradual development in flavour you will notice after cooking in your pot a few times.
Store your empty pot with a scrunched up newspaper inside and the lid on. This will absorb any moisture which might damage your pot.
If rusting does occur in the future, scrub the rust off with wire wool before repeating the curing process above.
Cleaning and maintaining your potjie
It is surprisingly easy to clean a potjie. The inside: Fill it with warm water and let it soak for a while and rinse with warm water. If you do not use dishwashing liquid, your potjie will with time develop a very personal flavour. Dry carefully and apply a thin layer of cooking oil to protect the inside of the potjie until next time. The outside: If you want to avoid heavy soot on the outside (not really a problem), try covering the pot with a thin spread of dishwashing liquid. This will help rinsing off the soot.

IMPORTANT – Don't do this with your potjie
Two things that can damage your potjie.
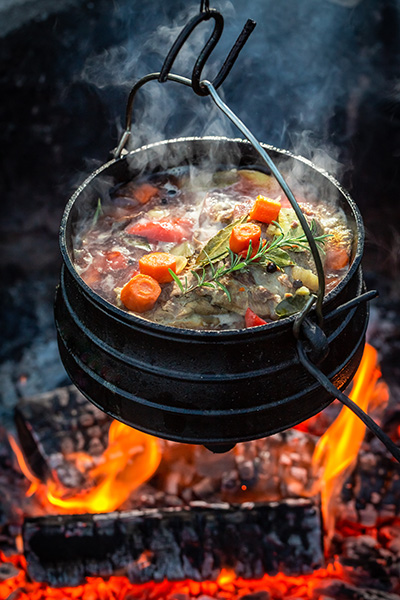
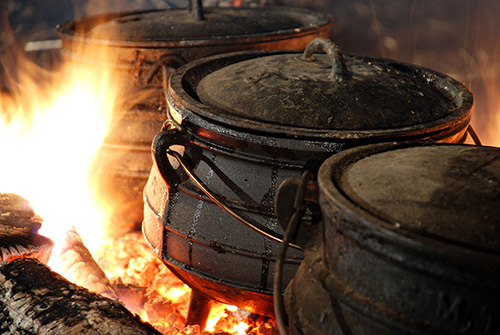
1. Avoid placing the potjie over flames. Flames right under the potjie may weaken the cast-iron and eventually lead to cracking. When cooking, place coals under and around the potjie and keep a fire going on the side so that you can get new hot coals all the time. Listen to the sound of the potjie to determine whether the heat is too high or loo low. If from 6 feet away, you can still hear a loud bubbling sound, the heat is too high. The right temperature is when you can barely hear a soft simmering sound at that distance. Regulate the heat by scraping coals closer or further away from the potjie.
2. Avoid adding cold liquids to a warm potjie. When adding liquids, pre-heat to boiling temperature or add very, very small amounts at a time. Always wash a warm potjie with hot water or let it cool off before washing it.